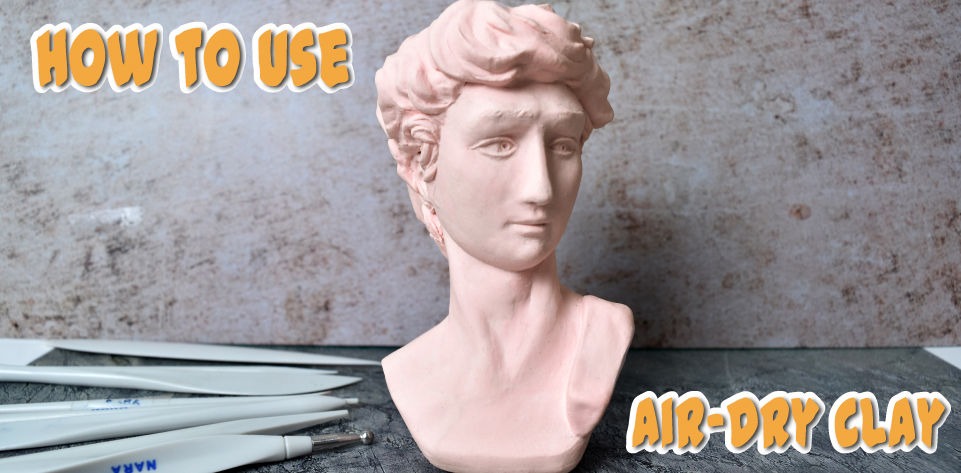
Air-dry clay is one of the most versatile and beginner-friendly materials for crafting. Whether you’re a hobbyist, professional artist, or student, NARA’s Air-Dry Clay (Hard & Strong) is specially formulated to be durable, smooth, and easy to shape – no kiln or oven required!
In this blog, we’ll guide you on how to use our premium Hard & Strong Air-Dry Clay effectively for long-lasting and professional-looking results.
What is Hard & Strong Air-Dry Clay?
Our Air-Dry Clay – Hard & Strong variant – is specially made for:
– Sculpting
– Decorative art
– Home décor pieces
– School projects
– Miniatures, planters, jewelry & more
It dries naturally in the air, forms a solid, strong surface, and can be sanded, painted, or varnished after drying. It’s also non-toxic and safe for all age groups (under adult supervision).
What You’ll Need
– NARA Air-Dry Clay (Hard & Strong)
– Craft tools (optional: sculpting tools, knife, rolling pin)
– Clean flat surface
– Water in a small bowl (for smoothing)
– Acrylic paints or varnish (optional for finishing)
Creative Ideas to Try
– Home Decor: Vases, candle holders, wall hangings
– Festive Crafts: Ganesh idols, Diwali diyas, Christmas ornaments
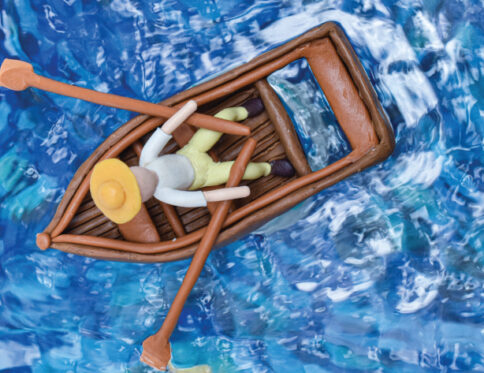
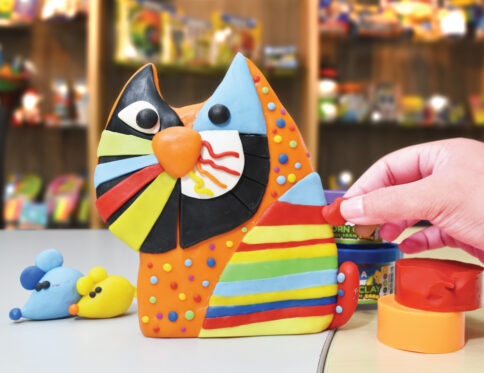
– Miniatures: Food models, animal figures, dollhouse pieces
– Kids Projects: School models, name plates, pencil holders
Step-by-Step Instructions
Step 1: Prepare Your Workspace
Choose a flat, clean surface like a table. You can place a plastic sheet or butter paper to prevent sticking.
Step 2: Knead the Clay
Take a portion of the clay and knead it for a minute. This helps soften the clay and remove any air bubbles.
Tip: If the clay feels dry, lightly wet your hands before kneading.
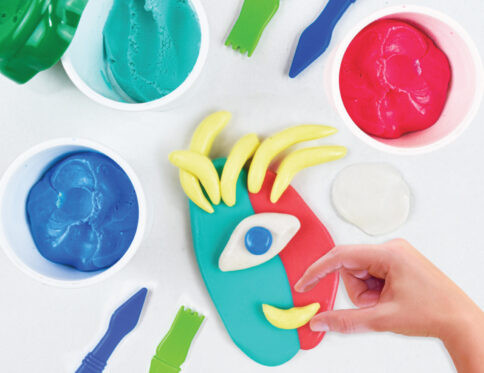
Step 3: Shape Your Design
Use your hands or clay tools to shape the clay into your desired form – a flower, figurine, bowl, or decorative piece.
Pro Tip: For thin parts like petals or handles, ensure they are not too fragile, or they may crack while drying.
Step 4: Join Pieces (If Needed)
To attach two pieces, score (scratch) the surfaces to be joined and apply a bit of water like glue. Press them together firmly.
Step 5: Smooth the Surface
Dip your finger or a soft brush in water and gently smooth out cracks or lines. Don’t use too much water – just enough to blend.
Step 6: Let it Dry Naturally
Let your clay item dry in open air for 24–48 hours. Keep it in a shaded, ventilated area. Avoid direct sunlight or fan air during initial drying.
Step 7: Sand, Paint & Finish
Once fully dry:
– Use fine sandpaper to smooth the surface.
– Paint with acrylics or poster colors.
– Apply varnish or sealant to make it water-resistant.
Cleaning & Storing Tips
– Wash tools with water before the clay dries on them.
– Store unused clay in an airtight container or ziplock with a damp cloth to keep it soft.